Do You Need a Plumber to Install a Bathroom Vanity?
Do You Need a Plumber to Install a Bathroom Vanity? A bathroom vanity can be installed by the homeowner provided; that you know how to turn off the water, and that the new vanity fits the same construct as the old vanity.
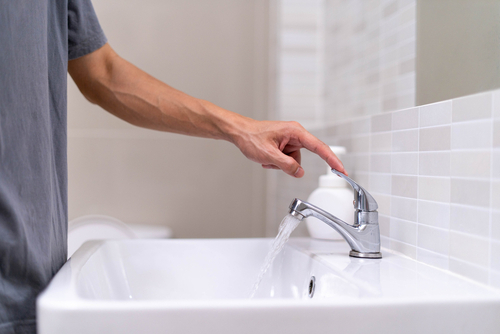
If any changes to pipes and fittings are required, get a plumber as if it is not a straightforward task it is better done by the expert. Remember you are dealing with both hot and cold water, and it is often easier to turn off the cold than the hot.
Home Improvements
Once you start on home improvements it becomes hard to stop, The bathroom needs updating far more often than most of us like, and before you know it it is time for a new vanity.
Once you have made your choice, measured it up, and know that it will fit into your bathroom it is time to take it home. But, before you put the new one in you need to take the old one out, and do a bit of heavy cleaning to prepare a hygienic space for the new vanity.
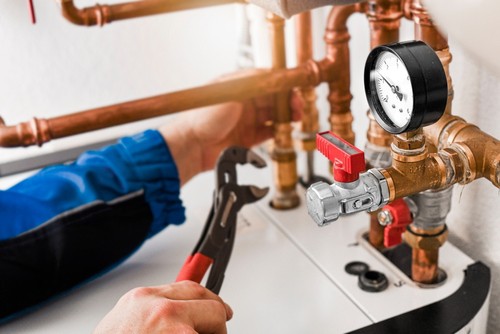
If you need a new faucet, get a plumber, otherwise, turn off the water and remove the old vanity, cutting off or unscrewing the U waste pipe. Disconnect the water supply line leading to the faucet from pipes coming through the vanity.
Take the old vanity outside, to allow more space to work in. Turn the kitchen tap on so that when you turn the water back on there will not be excessive pressure in the pipes.
Cleaning to install bathroom vanity
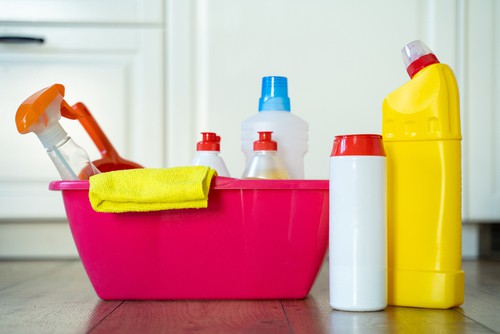
Spend some time thoroughly cleaning the area, the opportunity only arises every ten years or so, and if anything needs painting, touch the paint up before you install the new vanity. Once this is finished do your final ‘measure up’, and you will then be ready to install.
Today we are installing a floor unit. Make sure the floor hasn’t deteriorated, and if it is tiled it should be okay. If it is wooden sometimes the floors start to rot away, A bathroom vanity is relatively light, so it should be fine on a tiled floor, and if the floor is not tiled, tiling should be considered.
Measuring up for a floor cabinet

Measure the center of the pipes to the end of where the vanity sits. Then the distance from plumbing to the wall. Transfer the measurements onto the back of your vanity to match the location of your plumbing, this will make it much easier for you to progress, Do the same for both the taps and waste pipe.
Installing your bathroom vanity
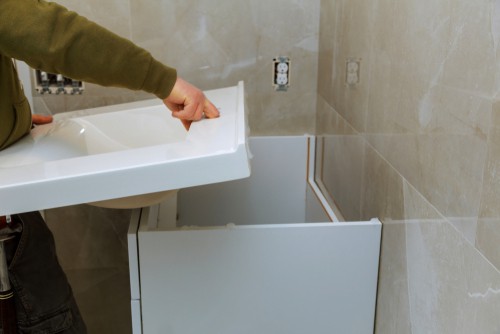
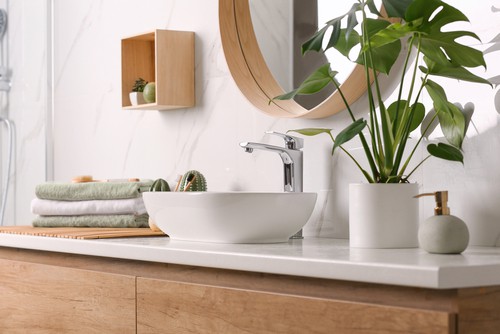
The vanity is 600mm wide, it has legs making it easier to clean underneath. Once it is in place make sure the sink tailpiece lines up with the trap and follow the instructions to connect. Reconnect the water supply line that leads to the faucet and tighten it up.
Make sure that the washer and gasket sleeve is in place and that the coupling nuts are tightened, you don’t want anything leaking. Obviously, none of this would be possible without the correct tools, a coupling spanner for tightening.
Once this is done attach your new taps, in the correct positions ( hot tap left and cold tap right), with a central water spout. Remember unless everything is correct there will be a leak, so make sure that every connection is watertight.
There is quite a lot of pressure in the pipes, so when you are certain that you have finished the work turn the cold water on first, and if all is well turn the hot water on. The bathroom vanity is now ready for action.
Do You Need a Plumber to Install a Bathroom Vanity? – Completing your bathroom vanity
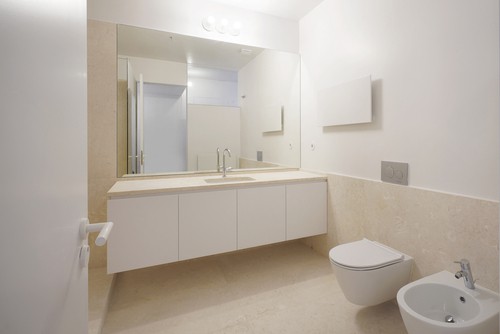
When you have made sure that everything is working you need to seal along the back of your vanity with a silicone gun that you buy from the hardware store. Probably best to use masking tape if you have not done it before.
The silicone will prevent water from running down the back of the vanity. When you apply silicone make sure that the surface is clean and dry and allow plenty of drying time afterward. Once this is completed you are ready to start using your vanity hopefully for the next ten years.