Repairing A Leaking Plumbing Pipe (Step by Step Guide)
Repairing A Leaking Plumbing Pipe: Step by Step Guide – Leaking pipes are not only an eyesore, but they can also cause serious damage to your property if left untreated for long periods. For this reason, it’s important to be able to identify the signs of leaking pipes and then fix them as soon as possible before they cause permanent damage. Here’s how to repair a leaking plumbing pipe step by step:
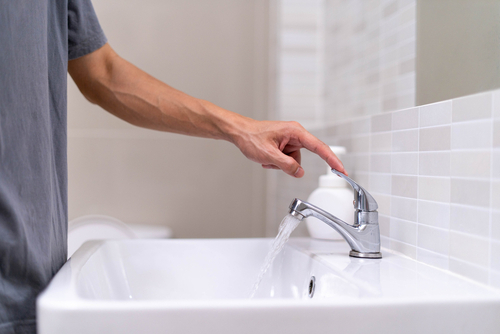
Turn off the Water Supply

The first step is to turn off the water supply. This will prevent any further damage from occurring and will make the repair process much easier. Locate the main water shut-off valve and turn it to the off position. If you can’t find the main shut-off valve, you may need to shut off the power to your home at the breaker box.
Use a flashlight to locate the appropriate breaker and flip it over. Once you have turned off the water, disconnect any hoses or pipes that are connected to where the leak is coming from. Afterward, remove anything that might get in your way while making repairs. Make sure there is enough room to work with. Look for the source of the leak and determine if it’s a pipe joint or connector fitting.
You’ll know because there will be an easy access point for fixing it if it’s leaking from the joints. If not, then this could be more complicated than you originally thought, and you should contact a professional plumber as soon as possible before causing more damage to your plumbing system.
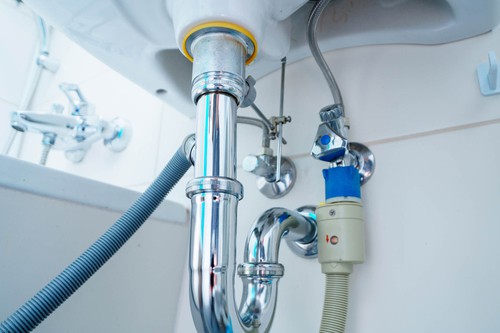
Locate The Leak
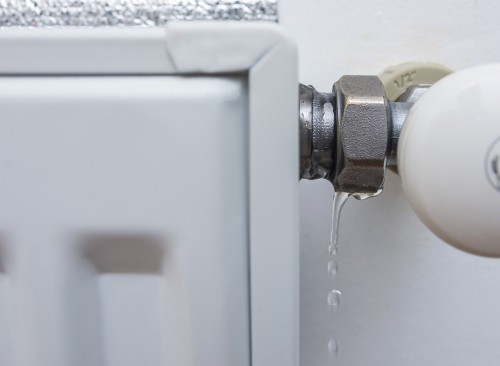
The first step is to identify where the leak is coming from. This can be done by checking all the visible pipes in your home for any signs of moisture or water damage. If you can’t find the source of the leak, you may need to call a professional plumber to help you locate it. Be sure to ask if they offer free inspections and quotes before making an appointment with them.
When locating the plumbing pipe that is leaking, take note of how much water is leaking out per minute. You want to use this information when purchasing the right type of patching material. Follow these instructions on how to repair a leaking plumbing pipe below for the best results!
Shut Off The Water Supply
The first step to repairing a leaking plumbing pipe is to shut off the water supply. This can be done by turning the knob or lever to the right, which will close the valve and stop the flow of water. If you’re not sure where the shut-off valve is, you can always turn off the main water supply to your home. Once the water is shut off, flush the toilet or run the faucet until the water stops flowing.
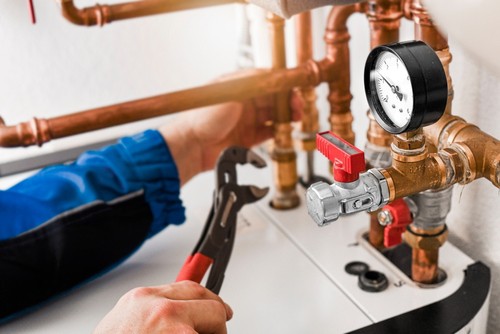
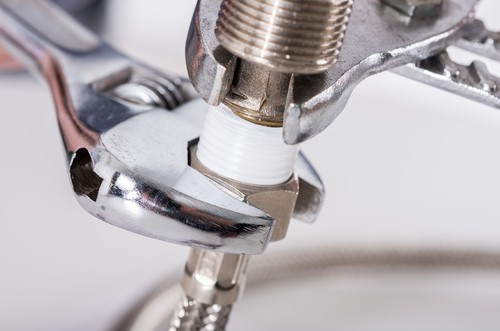
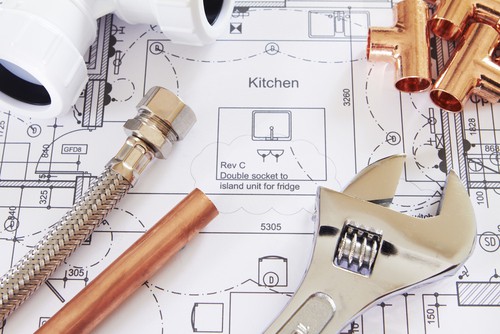
Next, use an adjustable wrench to loosen the compression nut on top of the joint coupling on one side of the leaky pipe. Make sure that you have a bucket or other container ready for when water starts pouring out from the other end of this coupling. It may take some time for it to drain completely, so make sure that you have enough room in your container before proceeding.
Next, twist off the coupling with a pair of pliers (or vice grips) and remove it from both ends of the leaky pipe. Take note of how the threads are configured at each end because they’ll need to be reversed when reassembling. Take another length of copper pipe and thread it into the threaded openings on either side of the leaky coupling.
Apply a small amount of Teflon tape over each end, then tighten down all connections with wrenches, making sure not to overtighten them. Finally, replace the water supply line and turn back on the water at your kitchen sink or outside spigot.
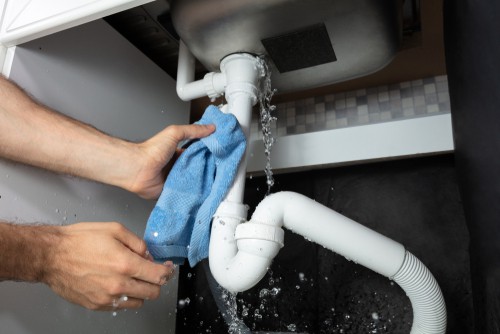
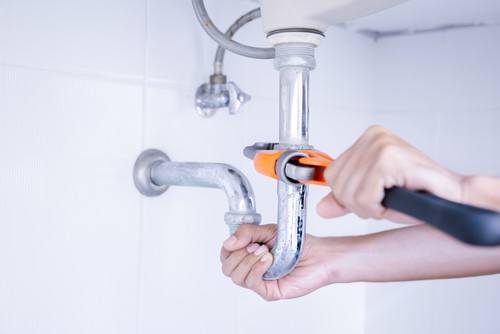
Remove Pipes/Fixtures
The first step is to remove the pipes or fixtures that are causing the leak. This may require shutting off the water to your home and using tools to remove the pipes. Once the pipes are removed, you can inspect them for damage and repair or replace them as needed.
Once the new pipe is in place, turn on the water supply to see if there are any more leaks. If there are no other leaks, then tighten all of the connections. If there are still some problems with your plumbing system, then contact a plumber.
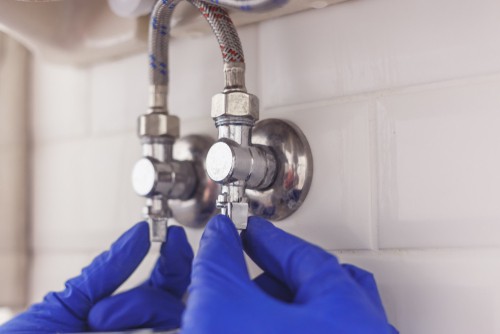
Check For Signs Of Buried Lines
If you’re dealing with a leaky pipe, the first step is to check for signs of any buried lines. This can be done by looking for wet spots on the ground or listening to the sound of running water. If you suspect there may be a buried line, it’s important to call a professional before proceeding. Next, turn off your main water supply valve and isolate the leaking pipe from any other pipes.
With gloves and eye protection on, use an adjustable wrench to loosen and remove the slip nuts connecting two sections of copper piping.
Pull one piece away from the other and use an open-end wrench to remove the old rubber washer if present and replace it with a new one. Reattach the pipes and re-tighten with your adjustable wrench before restoring your main water supply valve to normal operation
Replace Lines/Pipes And Replace Fixtures, Turning The Water Back On
Once you have removed the leaking pipe and replaced it, call a plumber to help you reattach the water line. Make sure that all lines are securely tightened before turning your water back on.
If you have checked for signs of buried lines and found that none exist, this means that your leak has originated from inside your walls or crawlspace. You’ll need to determine what is causing the leak and repair it accordingly.
Repairing A Leaking Plumbing Pipe – Conclusion
When it comes to repairing a leaking pipe, the most important thing is to know how to react promptly. If you do not know what the problem is, it will cost you more money in the long run. If you are dealing with a leaky pipe and cannot get help from a plumber on the same day, my advice is to make sure that everything surrounding the leak has been turned off.
It may sound simple but if you find yourself in this situation, it’s important that you take these steps now before moving forward.